How To Rip Love Nikki on Windows 10
Apr 19, 2026, 12:54:30
WARNING! This tutorial is outdated. There is no way to NinjaRip Love Nikki anymore, since supported Nox versions are not supported by Google Play and LNDUQ cannot be installed. A Nox backup with Nikki already installed (circa 2022 or before) would work for this method.
Writing this… I understood that my method would be deprecated, eventually. Here lies a documentation of what ripping Nikki manually used to be like.
This comes up in Duckduckgo search results :sob: don't look for any rips under this name. I separated myself from ripping a long time ago. This page is here to prevent linkrot :)
Click here
to download the PDF (nice for mobile!)
This is a rewrite of another person's tutorial. That is to say, I learned from that person's tutorial and would like to recontextualize the knowledge. It is archived here .
On a Windows 10, download Nox player 6.2.2.0. Windows 10 can handle Nox; Windows 8 cannot.
Also, download Ninja Ripper. The free version of Ninja Ripper was since discontinued by its original developer and is only compatible with specific Nox versions, such as 6.2.2.0. A new Ninja Ripper version costs money through the patreon. I am using the free version. The ripped images are output in the format DDS. It is a format common with game development and graphical rendering. The fastest way to convert DDS into PNG is by using ImageMagick from the command line.
Nox download
https://www.bignox.com/blog/noxplayer-6-2-2-0-release-notes/
NinjaRipper download
https://gamebanana.com/tools/5638
ImageMagick download
https://imagemagick.org/script/download.php#windows
Downloading Nox
Look for version 6.2.2.0. The installer is called:
nox-app-player-6-2-2-0.exe
https://www.bignox.com/blog/noxplayer-6-2-2-0-release-notes/
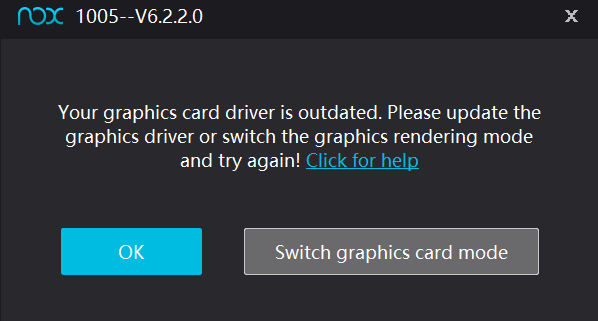
After it installs you enter the Nox Player. It might tell you that your driver is outdated. I avoid this error this by exiting out, and restarting the app. Although what I last did, to make this work, was click "Switch graphics card mode". I don't care if my drivers are oudated. The software still launches and you can still rip images.
If that link is dead, then, my comment is:
There are old archives of Nox versions that are NOT on the official website. I won't link them as I am sure that my linking them will end up in the resources becoming discontinued. The archives are difficult to find as it is. If Google fails you, you can try DuckDuckGo, and there might be certain forum conversations to help you. Considering how annoying this was, I am keeping the installer on my computer for safekeeping.
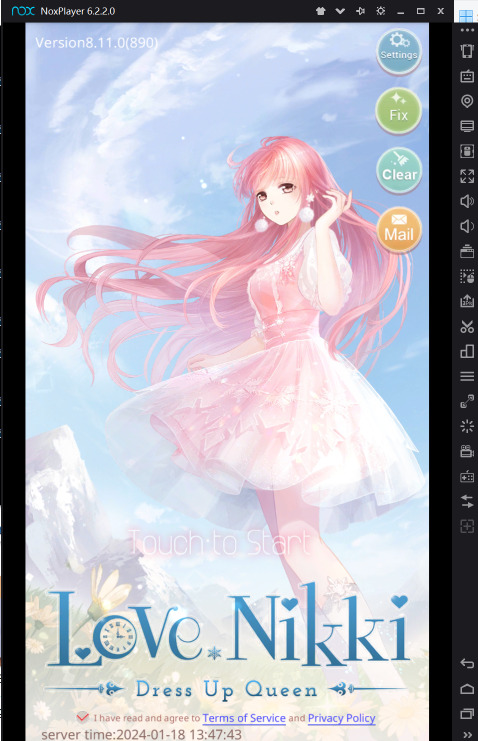
Download Love Nikki
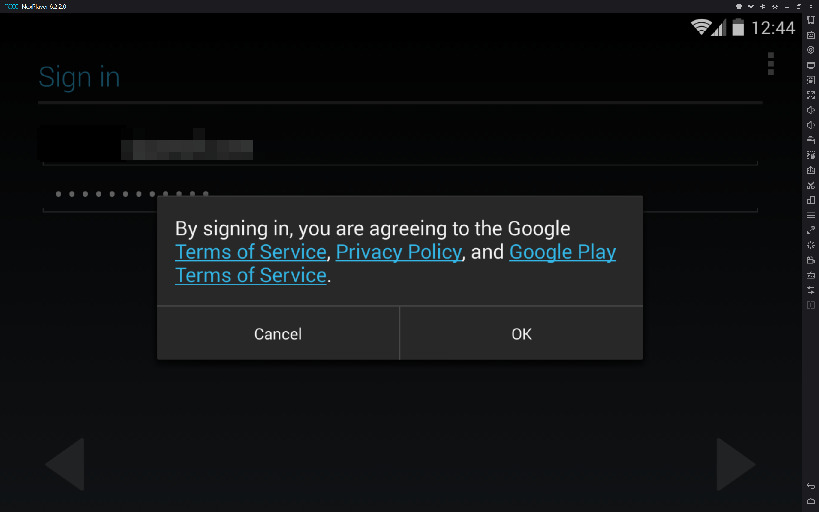
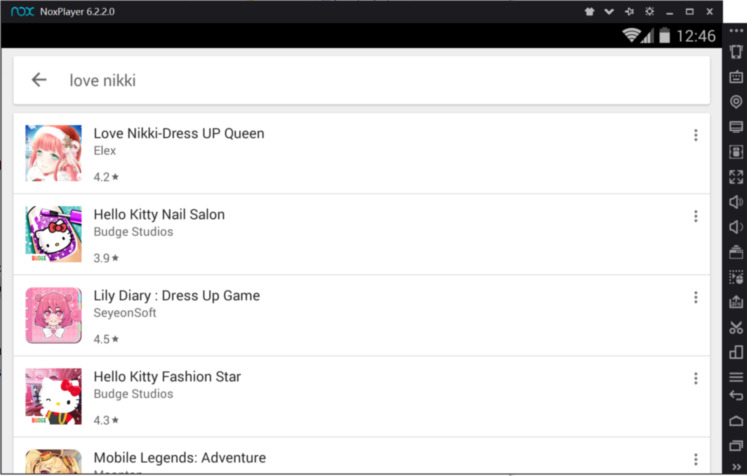
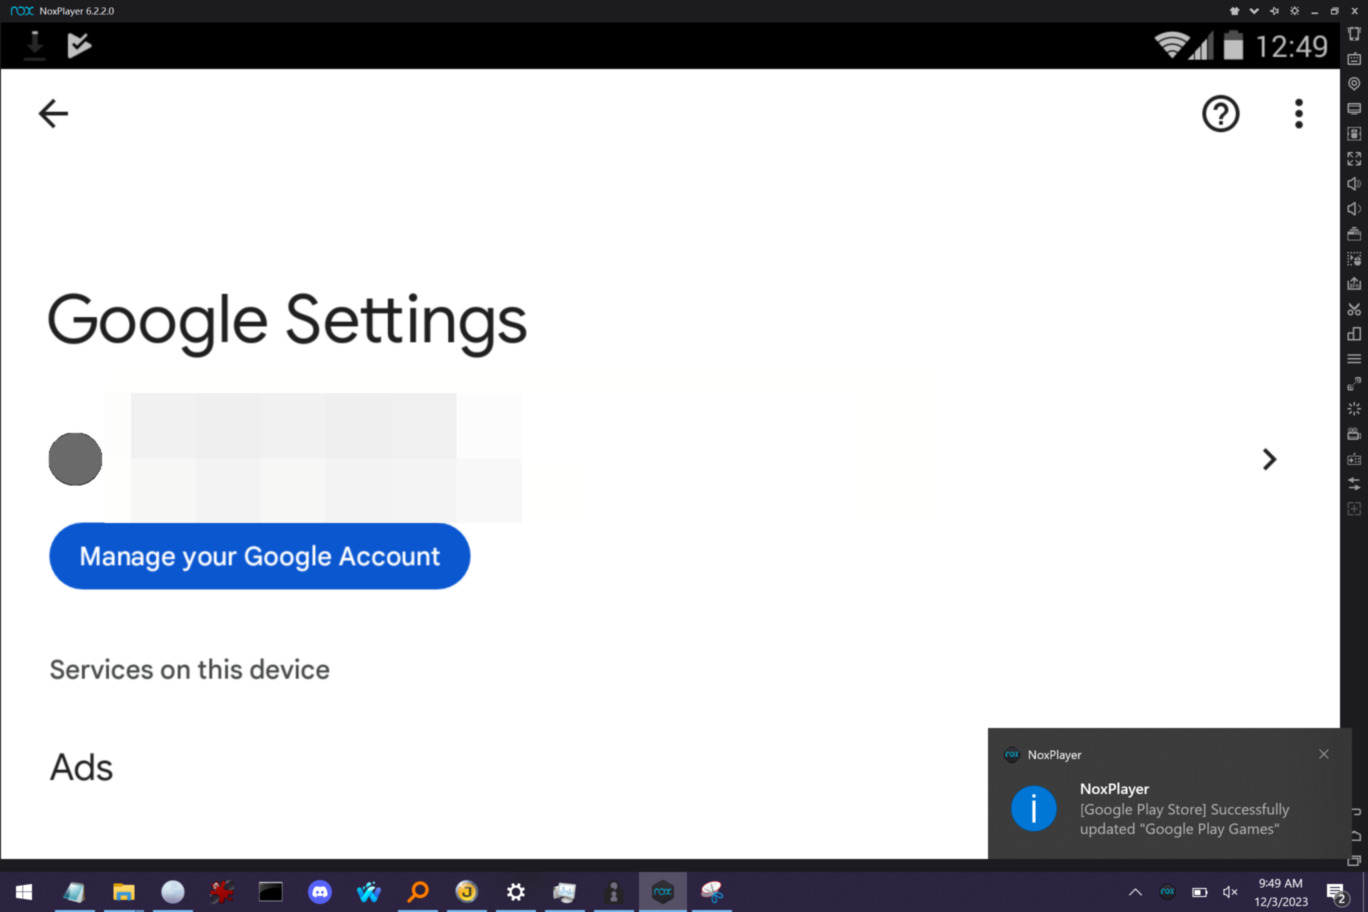
Within the emulator you need Love Nikki installed. You should log into Google Play, search for the app, and download.
This time around, in December 2023, Google Play Services was
giving me an error, so I clicked on that and updated. (This
error did not occur the year before.)
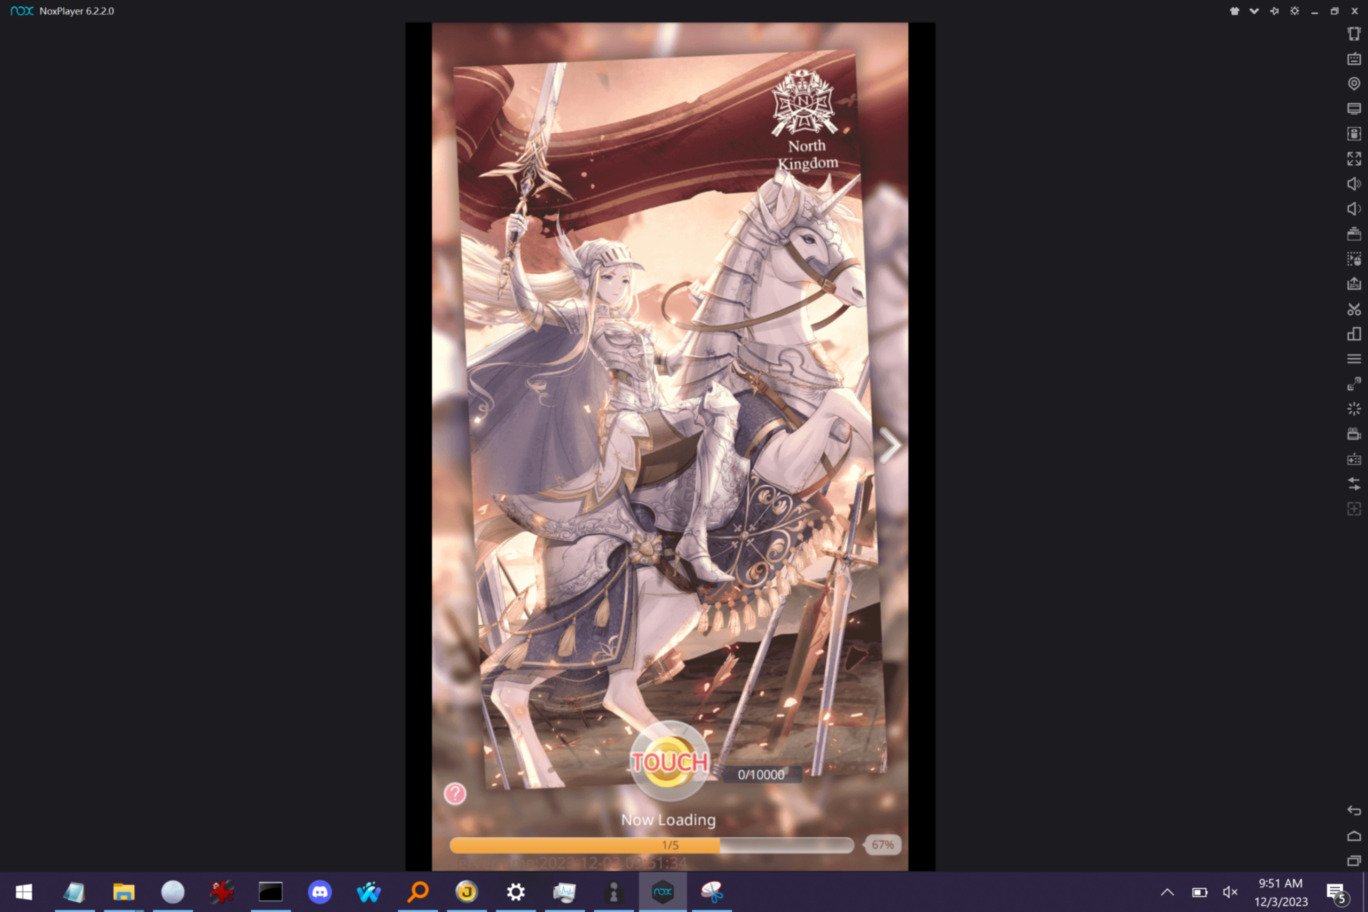
Once you download, the app needs to be installed. This takes about an hour. Expect a long wait.
After Love Nikki is installed, disable animations. Rips come out differently when animations are enabled. One such difference is that the moving sprites overwrite other sprites that were already rendered and you might not recover the full suit in a single rip.

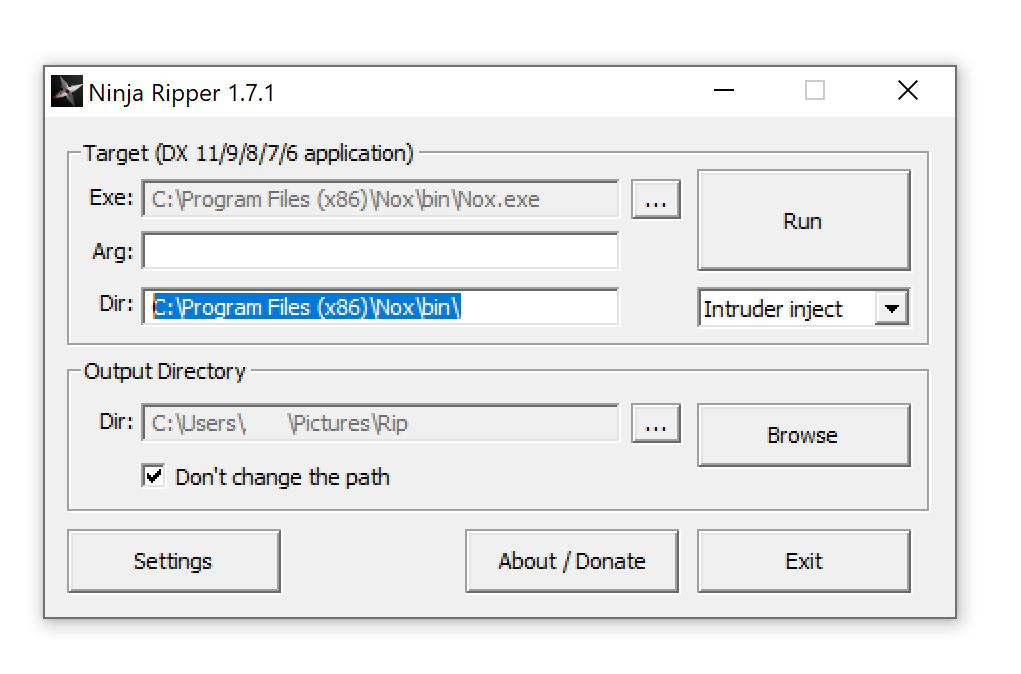
Launch NinjaRipper
NinjaRipper has a good idea of the directory where you keep Nox. This is the location it says by the "Dir" field after I first launch it:
C:\Program Files (x86)\Nox\bin\
The default keys on Windows for ripping are seen within the Settings. They are as follows:
F10 All
F9 Textures
F12 Forced
Any of those buttons work, and you can reconfigure them. I have
had the most success with the F12, "Forced". Prepare your
pointer finger for F12, and make sure, regarding your keyboard
configuration, the Fn toggle key won't mess you up and minimize
the application.
Nox will launch like normal and you have to open Love Nikki.
Rip the DirectDraw Surface (DDS)
NinjaRipper doesn't make itself very apparent until you press
one of the ripping keys, like F9 or F12. The game timer will jam
for a few seconds whenever you rip.
After the in-game clock resumes its tick, exit out of Nox. If you don't exit out, your ripped sprites will become overwritten by other sprites as the game continues to render itself.
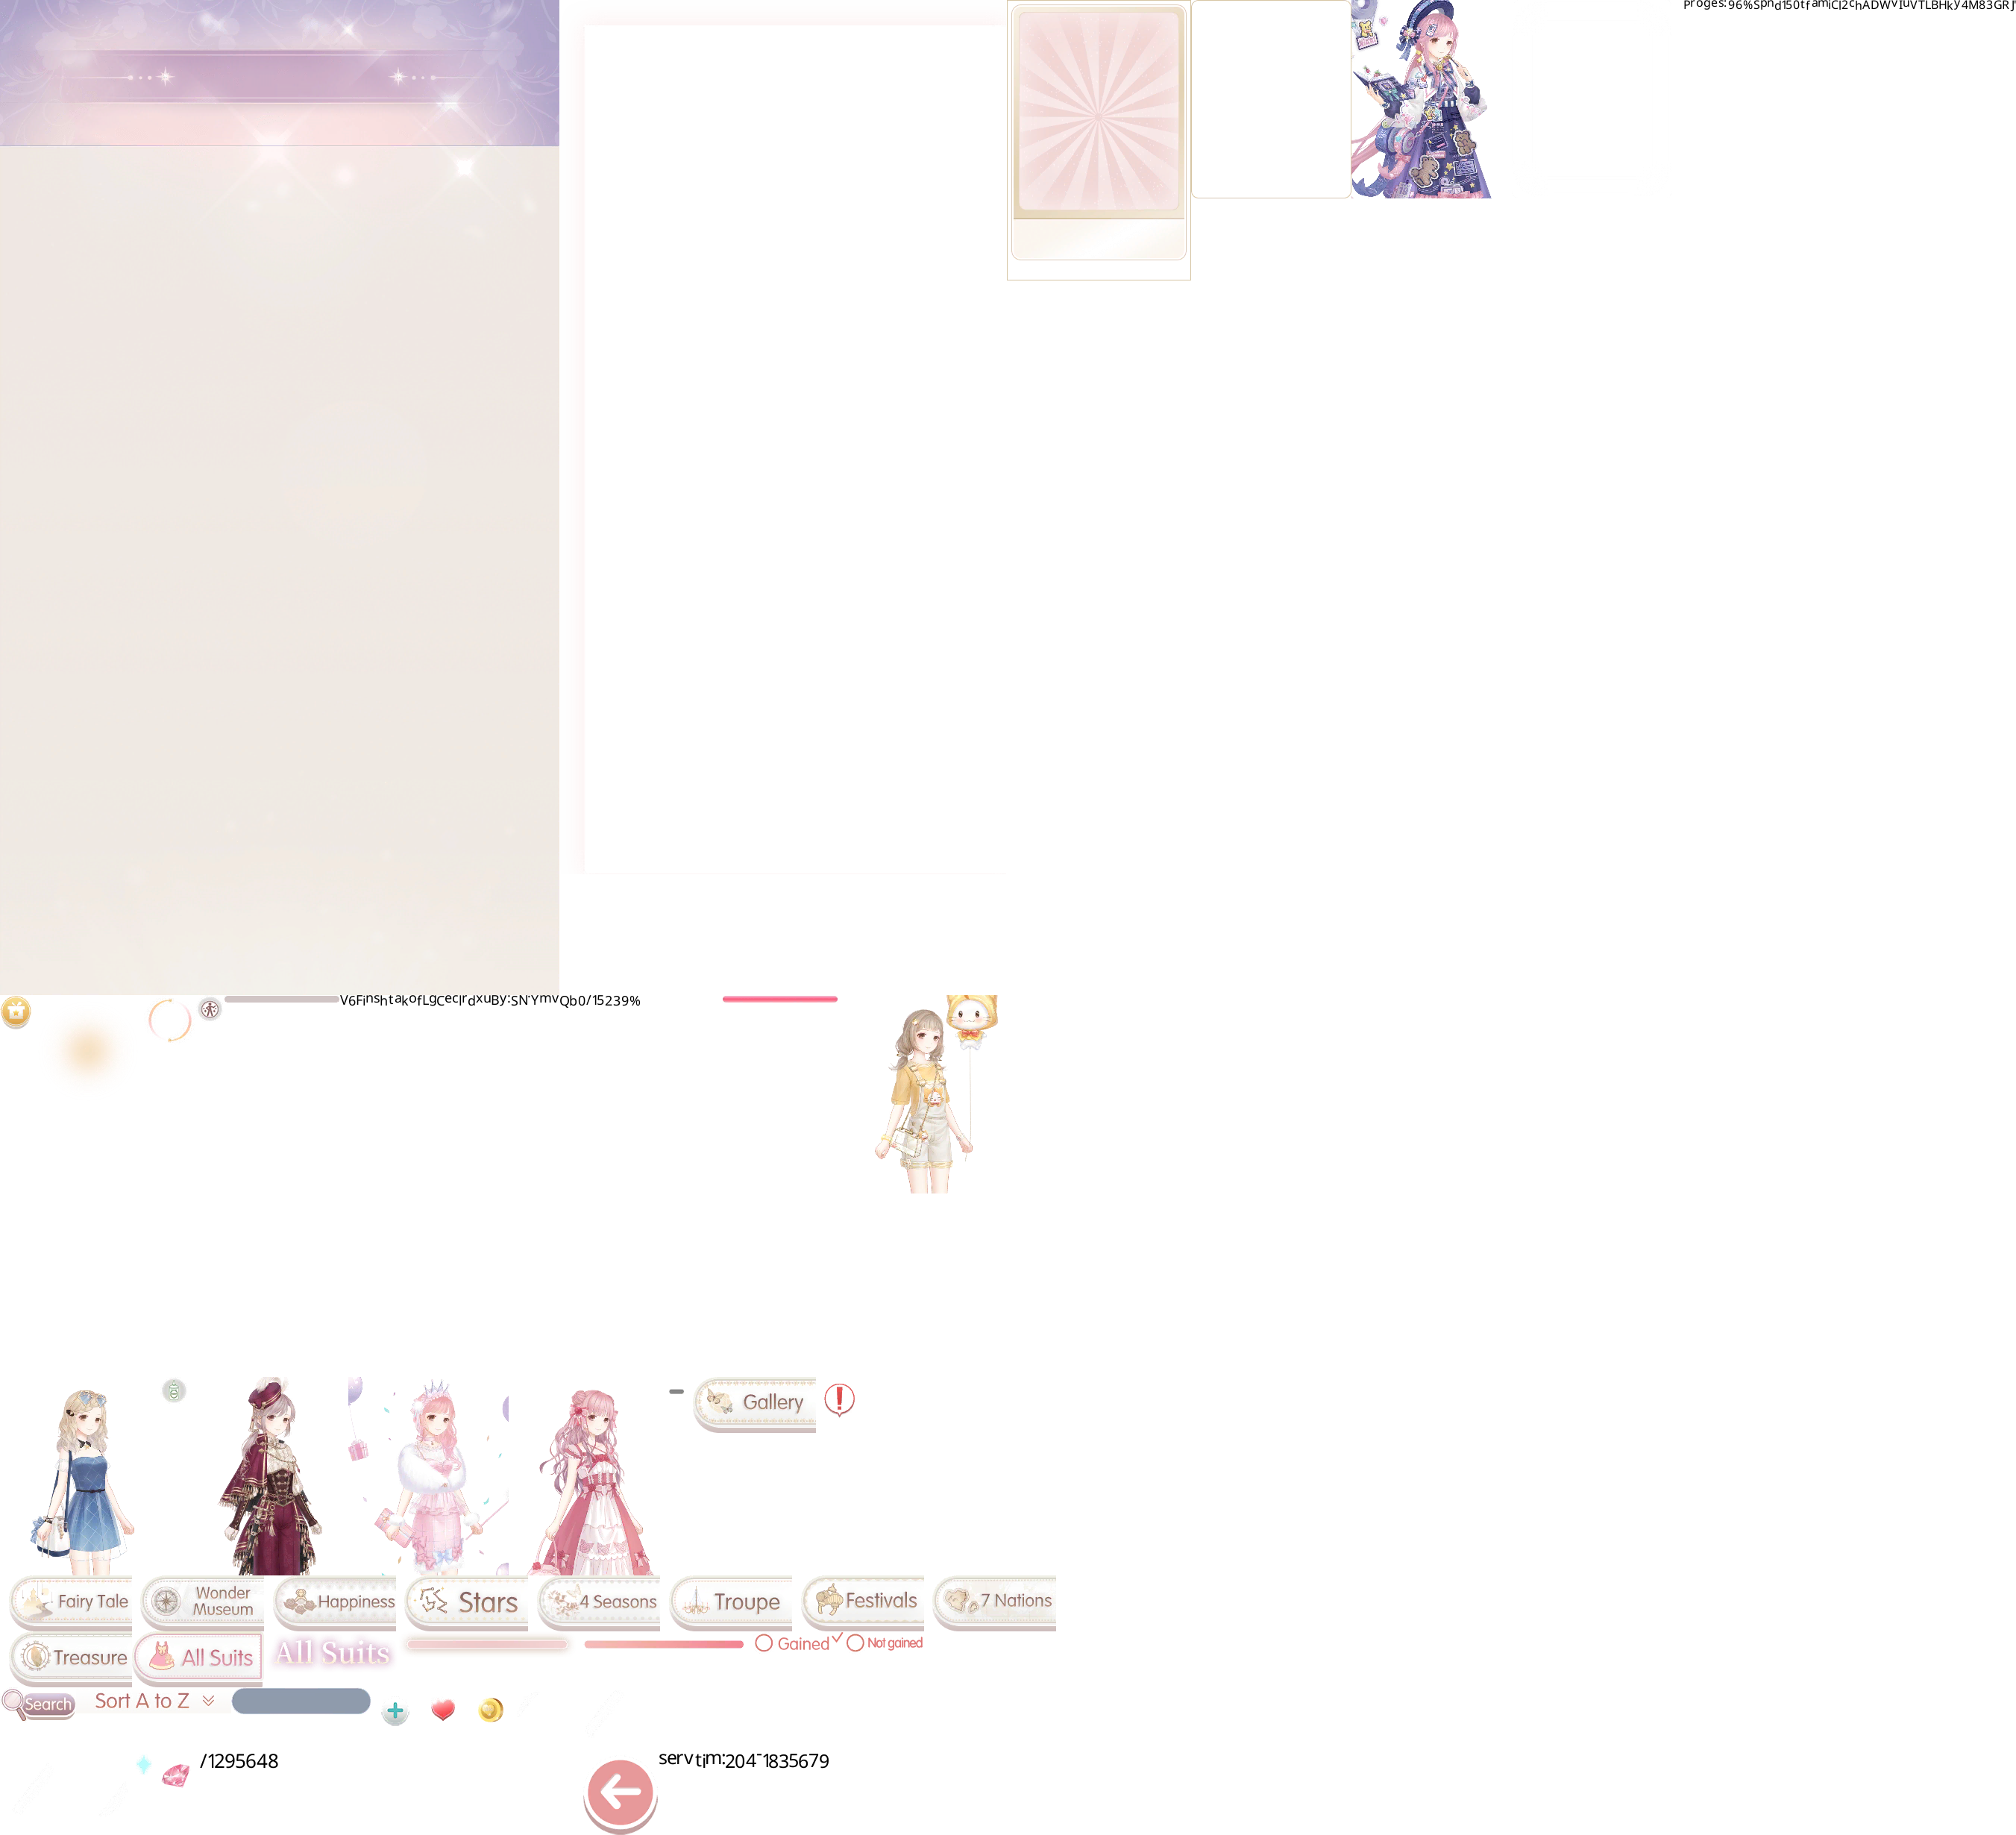
I ripped Nikki, isn't she cute??

Batch Converting DDS to PNG with ImageMagick in the Command Prompt
I'm going to rip something other than the above picture. The
previous one will be in a folder to the side, and I think that
shows how the sorting works itself out.
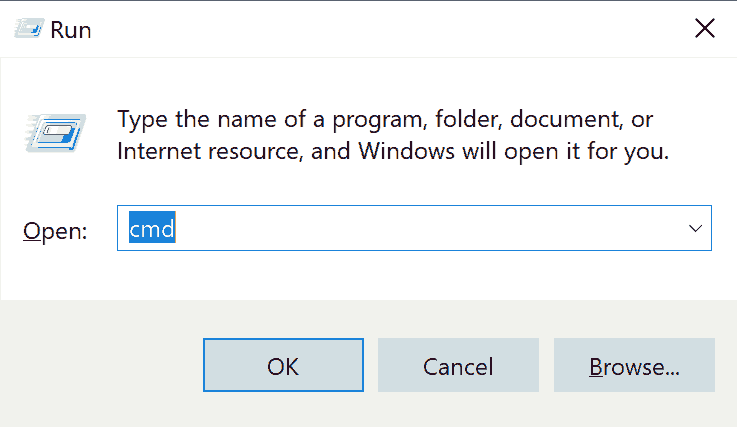
The command prompt is also known by the names of CLI, Windows
terminal, console, cmd.exe, and Símbolo del Sistema (español).
There are lots of ways to open the command prompt. The fastest
way is to either press Win + R and type "cmd" or to type
cmd in file explorer in the folder of your choice.
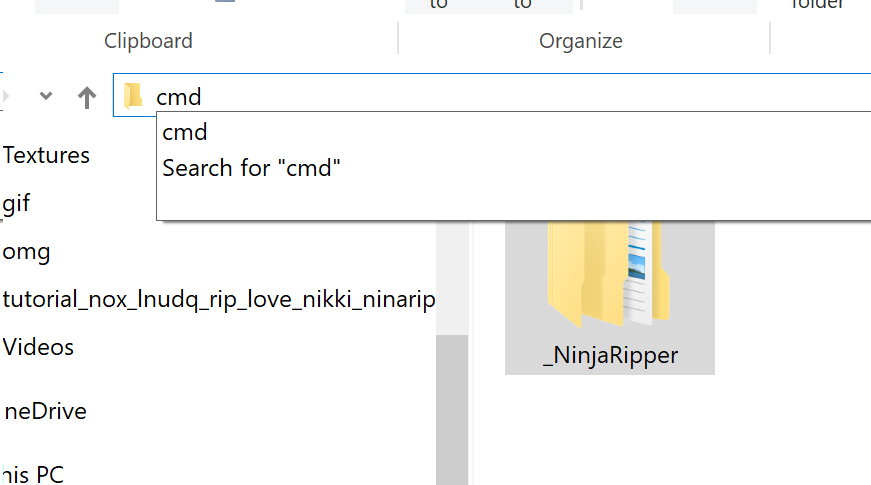
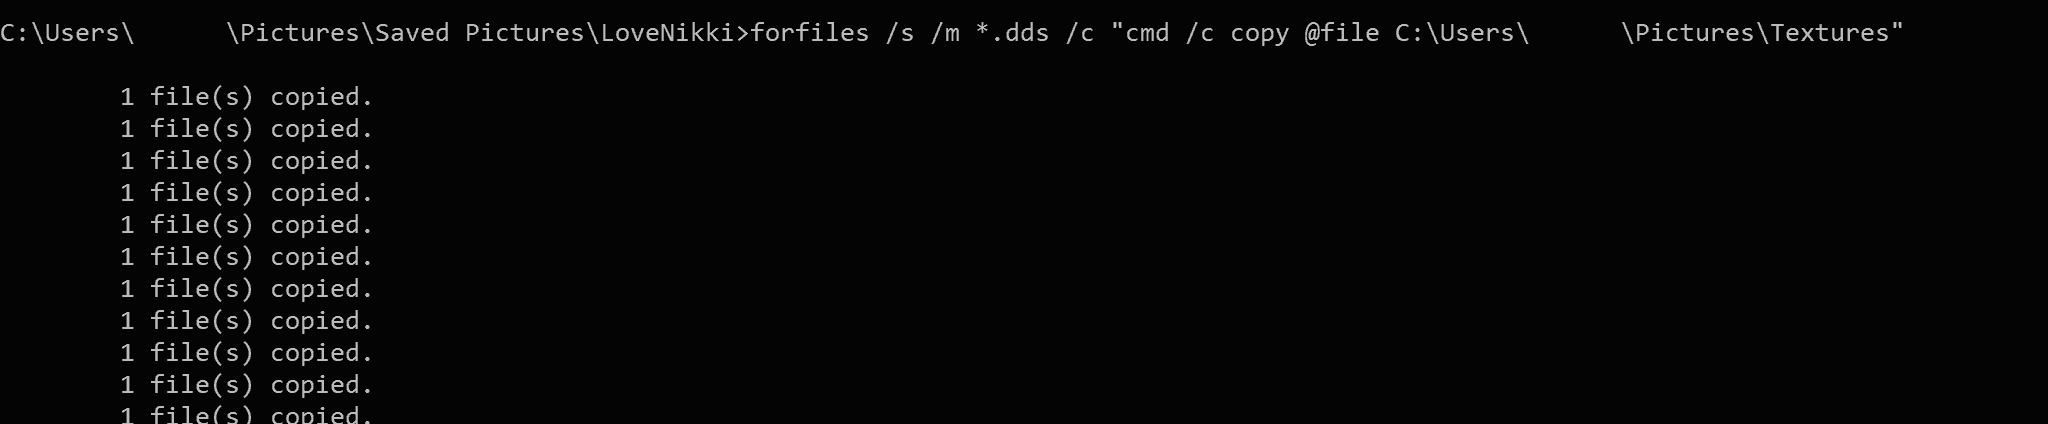
After I pressed F12, the entire rip was a lot of assets in DDS format. They are very hard to find inside NinjaRipper's output folder. I recursively extracted them from their respective locations with this command. Please note that I already have a folder in my Pictures named "Textures". You need to select an output folder, but you see, this works splendidly for me as it is easy to type and easy to remember.
forfiles /s /m *.dds /c "cmd /c move @file
C:\Users\Username\Pictures\Textures" 
I realize that "copy" could work better than "move"! Wow! I never thought of that until now. I accidentally delete the original rips and it causes problems, especially, when I first learned how to do this.
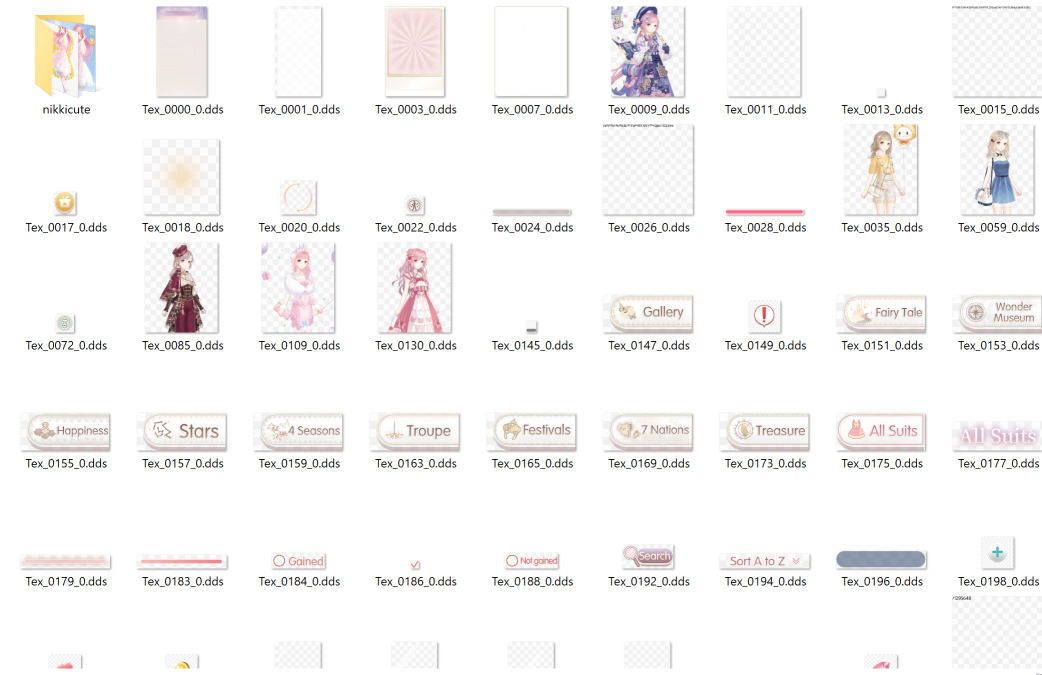
This is what my copied rips look like now that they have been recursively pulled from the NinjaRipper output folder. I only have DDS thumbnailing because I installed SageThumbs.
The command to transform DDS into PNG is simply to input the
DDS into ImageMagick and let it know that you want PNG.
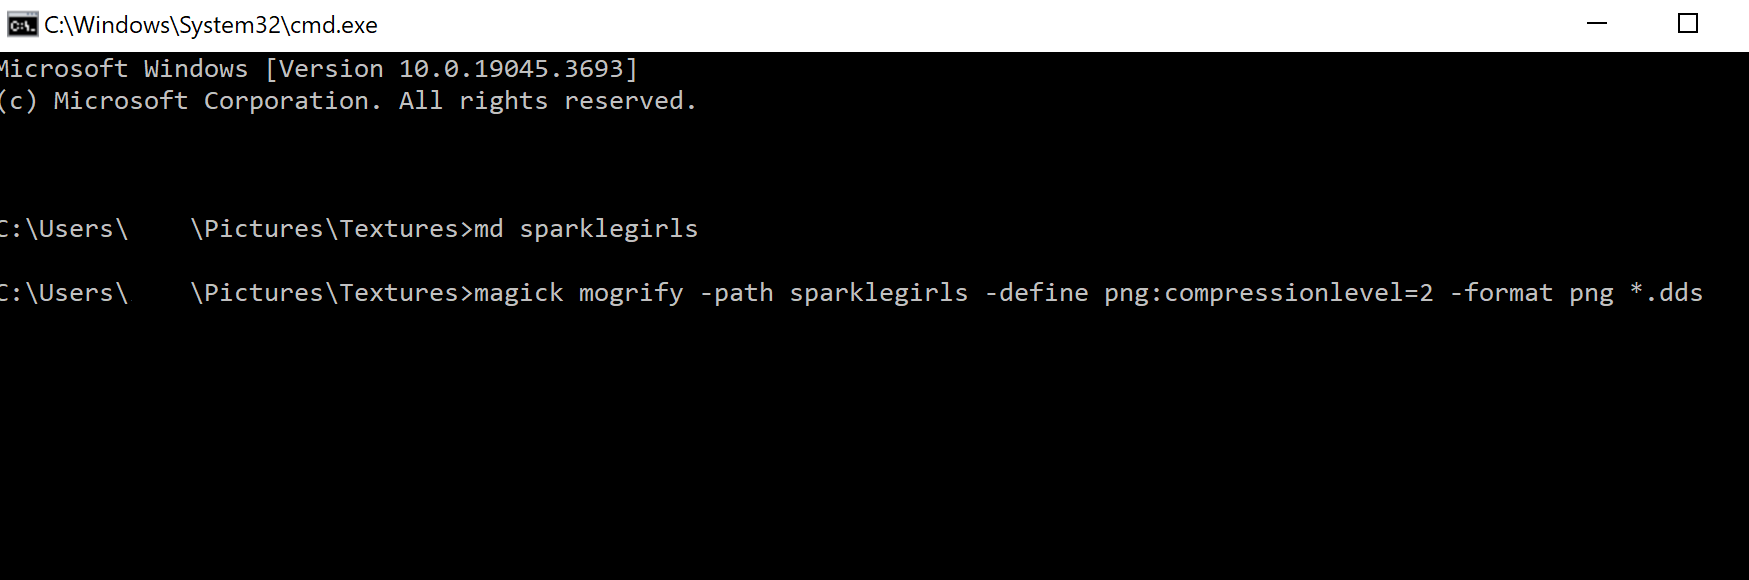
 magick mogrify -path sparklegirls -format png -define
        png:compression-level=2 *.dds
ImageMagick won't tell you once it is done with the mogrify operation. It will be very fast to convert if you lowered the PNG compression level as I did. -path is important to stay organized with your output directory and therefore not overwrite with subsequent rips. -define is good to lower compression level and speed up the conversion process. -format is necessary for picking the output format.
you can make an output directory with a single command
md sparklegirlsYou can delete your DDS files with a single command (Caution! There is no possibility of
recovering files deleted by the command line!)
del *.dds

Inside the sparklegirls directory appear a lot of workable files.
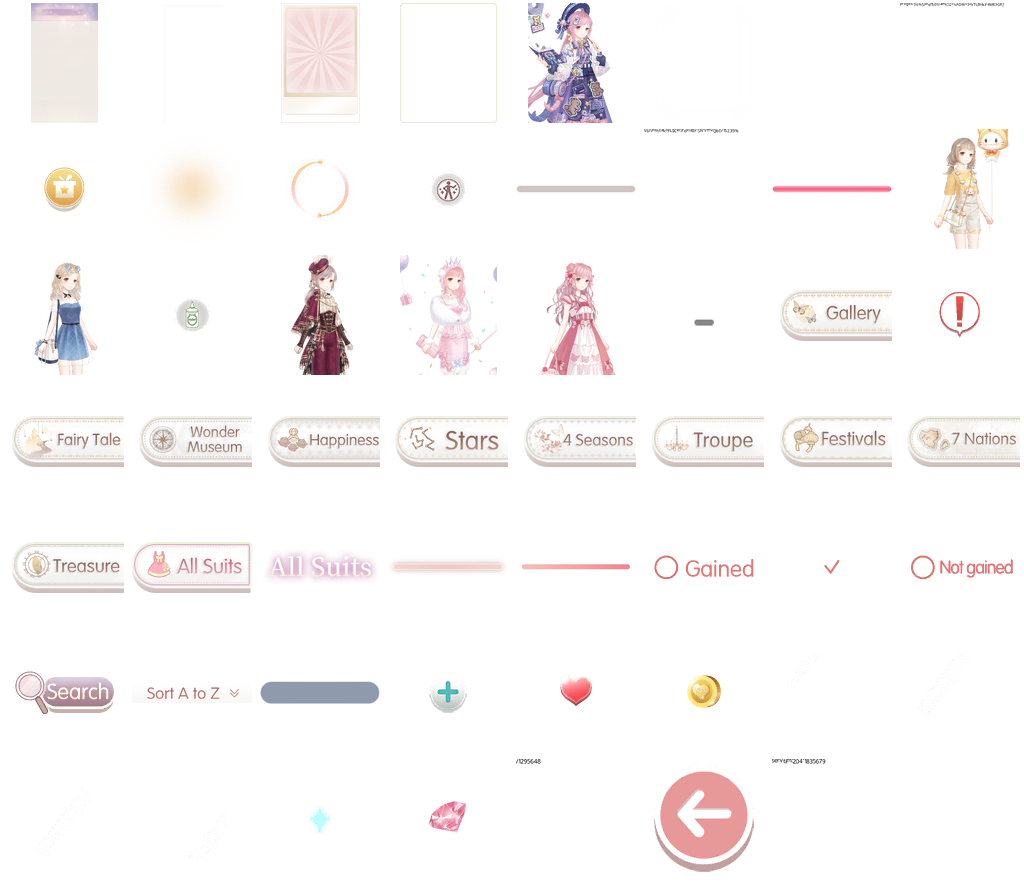
And, I compiled that with the montage thingy ImageMagick does. It's not to-scale. Also I didn't include all the unnecessary screenshots that NinjaRipper generated.
The sprites I pulled from the suits achievement menu are unscaled as follows . You'll have to open into new tab~